Whether you’re a brand spanking new beginner knitter or a seasoned pro, if you’re looking for a simple pattern and advice on how to knit an easy sweater, then this is the place for you!
This is the ultimate knit sweater pattern for beginners, so easy even your dog could do it. Ok maybe they might need a bit of help from you but I’m sure you wouldn’t mind snuggling up on the sofa to create one together.
I know knitting your first garment can be scary (admit it, we all worry about wearing those wonky vreations that granny made for us when we were four) but I’m here to hold your hand and you can always email me at [email protected] if you get stuck
Buy The Ad Free PDF printable pattern in the shop here
Short on time at the moment? Add this pattern to your Ravelry queue here
Want to share with your friends? Follow me on pinterest and pin it for later
Basically, the sweater is created by knitting two squares for the body and two rectangles for the sleeves – and once you’ve created it I just know you’re going to make another in a different yarn, then another in a different colour and another for your bestie and another and another…….you get the idea!
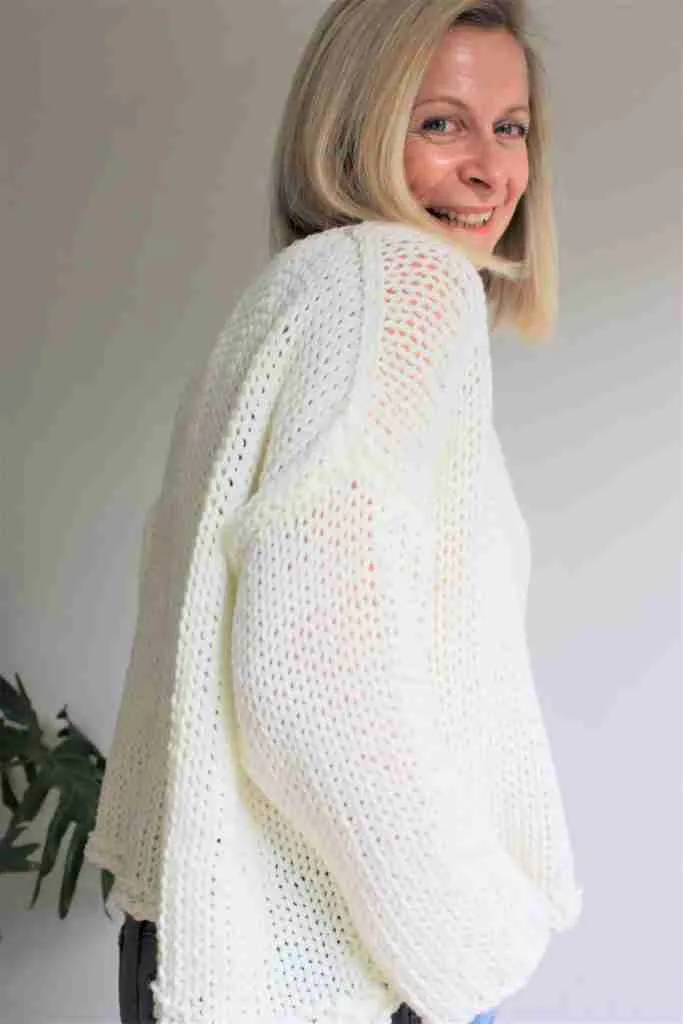
This step by step tutorial is perfect for beginners as it is made in a series of simple blocks which are seamed together to create your sweater.
It really couldn’t be easier!
If you have more experience then this pattern will give you the basic shapes and measurements to allow you to create your own masterpiece -make it longer and cosier in a fluffy yarn or create a cropped look by knitting fewer rows in the body pieces.
Learn How To Knit With My YouTube Tutorials
(Some of my posts contain affiliate links. If you buy something through one of these links it won’t cost you a penny more but I get a small commission. For example as an Amazon Associate, I earn from qualifying purchases that you make if you click one of my links)
What Sizes Can I Make My Beginners Easy Knit Sweater?
The finished sweater in size is approximately 55cm (21inches) long
SIze S/M is 65cm (25inches) wide from armpit to armpit.
Size L is approximately 75cm (29 inches) wide.
What Do I Need To Knit a Basic Beginners Sweater?
YOU WILL NEED:
- Chunky yarn (size 5, bulky) approximately 500g for size S/M & 600g for size L.
I like this yarn on Amazon or if you prefer something with a touch of wool this one on Lovecrafts is beautiful to work with
- 12mm (US size 17) straight needles, available here on Amazon or Lovecrafts
You can use circular needles if you prefer, just make sure you work back and forwards as you would on a straight needle. Here are some of my faves on Amazon & Lovecrafts
If you’re not sure which needles to choose this post might help
- Scissors
- Pins or stitch markers
- Tapestry needle for seams
Check out some of my favourite tools that I use in my projects in my AMAZON SHOP
Do I Need A Gauge Swatch?
Gauge is important to give you an idea of whether your project will be the size you want, especially important with clothing!
Can you imagine putting in all that work to find you can’t get your arm in or it’s hanging off your shoulders?
Ok maybe that’s the look you want, but so many crafters miss this stage out and then spend just as long pulling out their work to remake it so it fits.
Moral of the story is check it’s going to fit first!!
I usually recommend making a swatch that measures at least 10 x 10 cm / 4 x 4 inches using the stitch in the pattern the gauge is given for (see below).
Test your yarn against the gauge sizing below or see your yarn information label to check the typical gauge if you want to use an alternative.
Stockinette Stitch = 9 stitches x 11 rows (10×10 cm)
If your swatch is smaller than this then swap to larger needles, if you have a larger swatch then use a smaller pair of needles until the required gauge is reached.
Before You Start
Want to take your project with you? Buy The Ad Free PDF printable pattern in the shop here
Short on time at the moment? Add this pattern to your Ravelry queue here
Want to share with your friends? Pin it for later here
How Do I Knit An Easy Sweater?
Make 2 pieces (front & back)
Cast on 60 stitches (70 for size L)
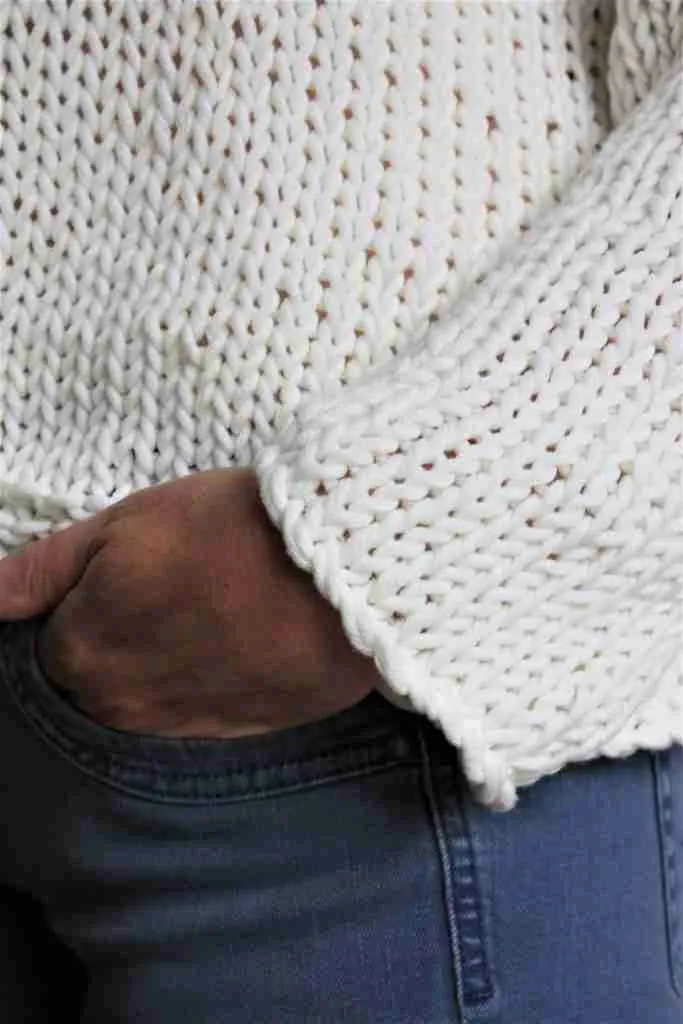
Knit 4 rows in garter stitch (this is a slightly sturdier stitch and will highlight the wide swing at the base of the jumper).
Row 5, purl all stitches, this will be the start of the main sweater piece
Row 6-60 stockinette stitch. I stopped here as I wanted a cropped and swingy effect. You can add as many rows as you like until you have a length you’re comfortable with.
Bind off your work.
While you’re here, you might also like these:

How To Knit A Sweater Sleeve
CREATE YOUR SLEEVES (Make 2)
Cast on 35 stitches.
Knit stockinette stitch for 40 rows, bind off
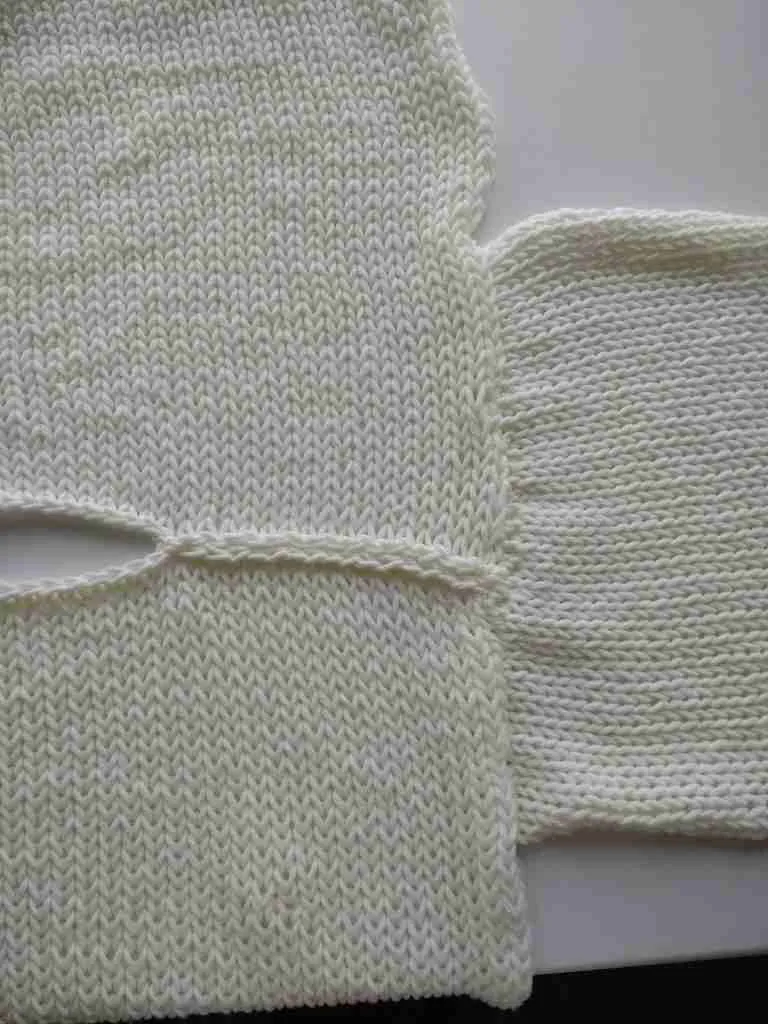
How To Block Your Sweater
I would recommend blocking each piece when it is complete so that you can ensure it is the correct dimensions for your body (and the edges are straight for sewing up your seams!)
Many knitters hate blocking as they’re too impatient to wear their work but when you’ve put all this effort in to creating something that you want to be proud to be seen in, it’s so important to take the extra time to add the icing to the cake!
Blocking is basically the simple process of dampening your work and pinning it so the pieces can be manipulated into the shape or size they’re supposed to be.
Depending on your yarn this can be as simple as holding a steaming iron over (CHECK YOUR YARN CARE INFORMATION LABEL & DO NOT ALLOW IT TO TOUCH YOUR WORK!) or simply spraying your piece with water so the stitches are malleable enough for you to shape them then pin them in place to create sharp corners and even stitches.
How To Assemble Your Knit Sweater
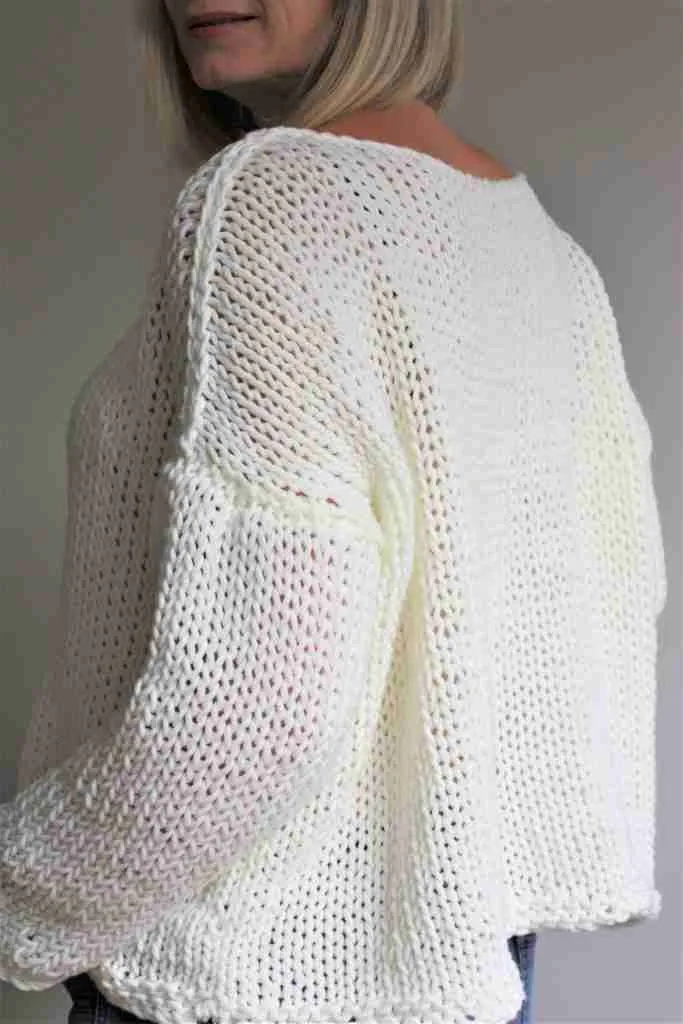
Lay your two main pieces with right sides together and mark the neckline with pins or stitch markers.
I measured mine at 30cm but you may prefer a more slouchy off the shoulder number😊
Join at the shoulders using your preferred stitch (I use ladder stitch as it gives a nice flat seam).
Find a good flat surface and lay your work flat with the shoulder seam in the middle and the wrong sides facing upwards.
Fold the sleeves lengthways and mark the should centre point with a pin or stitch marker. Line this up with your shoulder seam and join the short edge of the sleeve to the main piece so that half of the sleeve sits on each side of the shoulder seam. (do this on each sleeve).
Fold your sweater in half at the shoulder seam with the wrong sides facing out and join from the base to the wrist of the sleeve.
Turn your sweater the right way out -Ta Da!!
Easier than you think isn’t it? Now go take a photo and tag me on social media (@kingandeye) I’m so excited to see what you’ve made!
I love the look of the sweater, but will need clarification on the yarn used, one link is to wool ease thick and quick, which is a #6 super bulky yarn, the other is to Rico Essentials Mega Merino, which is a #5 chunky yarn, so I’m hoping you can clarify which yarn or at least which weight of yarn is being used here?
Hi Lisa, you can either size 6 or size 5 yarn as long as you have the 12mm needles. I used size 5 in the images which gives a slightly airier look for the summer but if you want a chunky warm winter sweater then I’d recommend the size 6. Hope this helps, I’d love to see how you get on! Stay safe, Claire
Thank you for the article.
King regards,
Demir Henneberg
I am fairly new to knitting and planning to try this jumper. My casting on is untidy so I wondered if cable cast on would be suitable for this jumper? I can do that more neatly. Thanks.
Hi Deb,
Yes definitely! The cable cast on will look great and give a lovely neat edge. Can’t wait to see it! Claire
Can you please clarify how many balls of wool you used for size 5 wool? And then for size 6? Much appreciated.
Hi Toni, it really depends on the number of metres of yarn in the ball. If you look at the label it will tell you how many metres are in each ball, then you can divide that by the number of metres that the pattern suggests to give you an asnwer to how many balls to order. You can use this simple equation on any pattern when you are using a different yarn to the one suggested in the pattern. Claire
If I go in 30 cm from both edges it seems like it’s a very small neck opening. Am I doing something wrong? Any other measurement ideas?
Hi Julie, the beauty of this pattern is that you can adapt it to fit in any way you would like. I would suggest trying a tape measure along your collar bone from your shoulder and marking whereabouts you would like the neckline opening to start, then you can seam up to this point. Hope this helps. I’d love to see when you have finished. Claire